Many contractors create the estimates/proposals that they give to customers/clients outside of QuickBooks. Once a client has accepted and signed a proposal, entering into QuickBooks as an estimate allows you to do progress invoicing from the estimate and better keep track of how much money is left in the contract.
So, let’s say Test Customer Corporation has signed a proposal for sitework, a new concrete slab and a CMU wall. Here’s how to create the estimate:
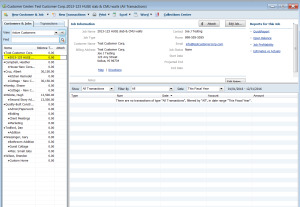
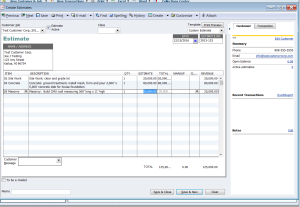
1) In the Customer Center, find Test Customer Corp, and add the new job. While the new job is still highlighted/selected in the Customers:Jobs list, click on New Transactions > Estimates, which opens the Estimate window with the correct Customer:Job selected.
Then just start entering the data from the proposal that the client signed. I personally use the same number for the estimate that I used for the proposal that the client signed, but you can use any numbering system that will work for you.
When you’ve entered all your items, descriptions and amounts, click “Save and Close.”
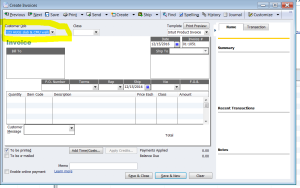
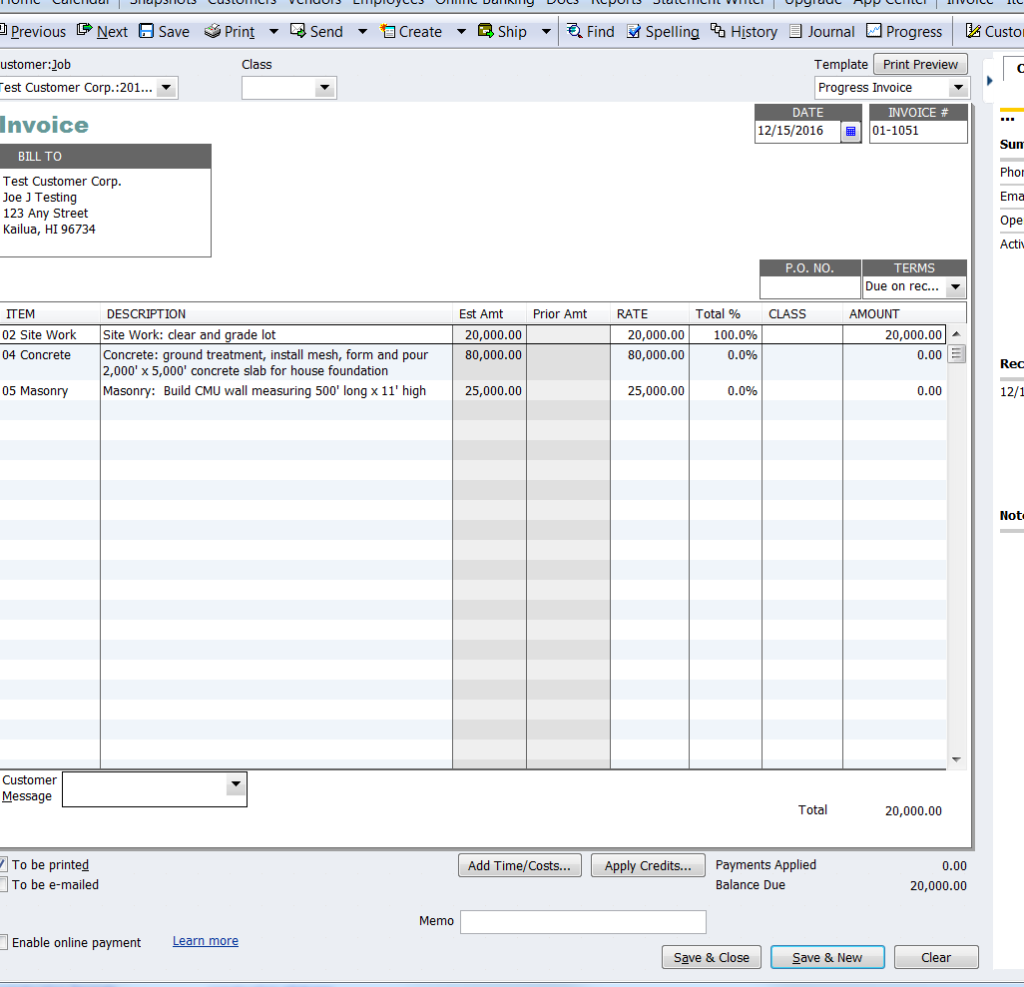
Then, when you’re ready, you can invoice from this estimate. Again, in the Customer Center, highlight the Customer:Job in the list, then click on “New Transactions” > “Invoices.” An invoice will open (the “Create Invoices” window) with the Customer:Job populating that field, as shown below.
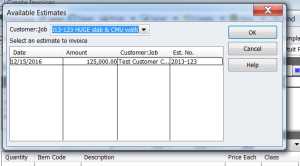
As soon as you hit TAB, the “Available Estimates” window will open showing the estimate you created for this Customer:Job. Click on it and click OK.
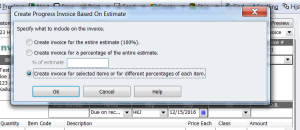
Then the “Create Progress Invoice Based on Estimate” window opens and gives you three choices:
1) create invoice for the entire estimate (100%).
2) Create invoice for a percentage of the entire estimate. If you select this radio button, you can type the percentage for which you want to invoice, and QuickBooks will calculate that percentage for all items.
3) OR Create invoice for selected items or for different percentages of each item.
Some companies always invoice for 50% down and the balance upon completion of work. If that’s the way your company works, choose option #2 and type “50” in the % of estimate box.
For this cheat sheet, we’re choosing option #3 because our estimate contains several items that are done in sequence.
When this option is chosen, yet another window opens: “Specify Invoice Amounts for Items on Estimate.”
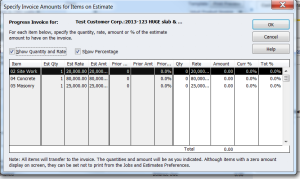
In our sample, we’re billing only for the completed site work, so we type 20,000 in the Amount column of the Site Work line, then click OK.
QuickBooks populates the invoice with the item and amount chosen.
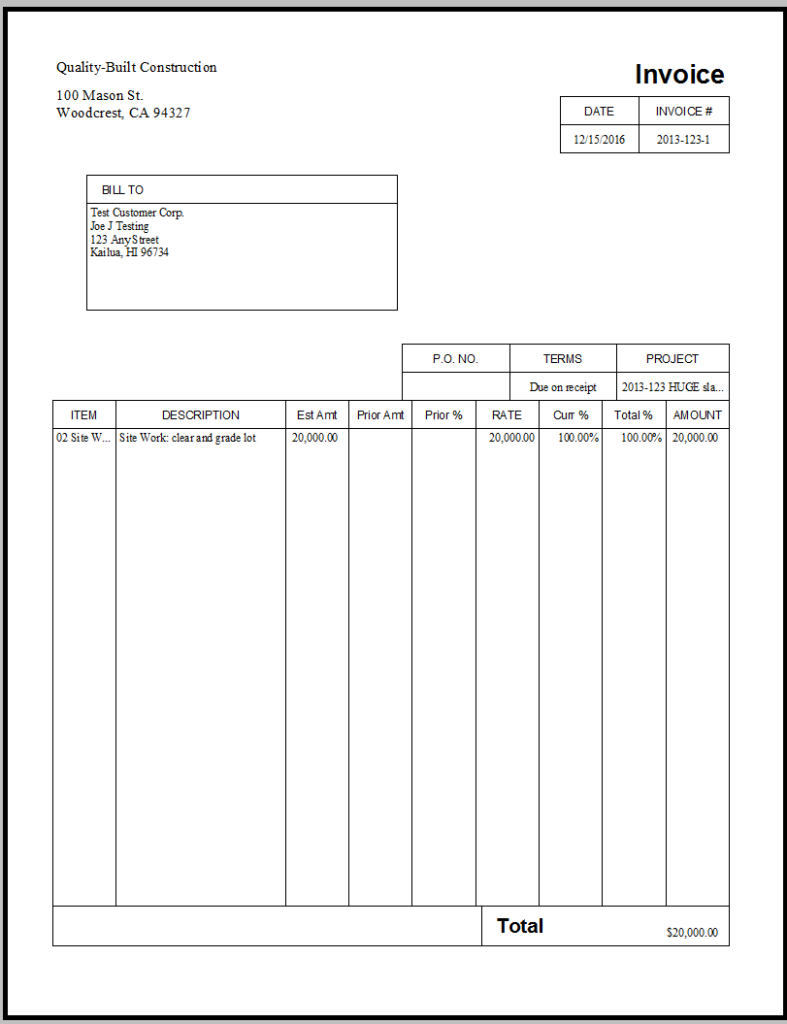
This is what the invoice will look like to my customer:
As the job progresses, you continue to follow this procedure until you’ve invoiced your client for the entire amount of the estimate.
EASY BREEZY!
If you have any questions, please feel free to call me.
I hope this is helpful.
Wishing you a happy and prosperous day.
Patti Killelea-Almonte
